
How to Import Categories in Magento 2
With a big catalog of 234+ extensions for your online store
Due to the continuous development in virtual technology, you should not only paid attention to customer experience but also notice to optimize your site’s user experience. Despite there is no increase in conversion or traffic, the enhancement in user experience will maximize the effectiveness when managing the store’s information system.
To be more specific, the import function provided by Magento 2] is useful, but believe me, Mageplaza understands you better to design beneficial features. It will make you feel comfortable when managing store sites.
Table of contents
Why do we need import categories module?
Drawbacks of Magento 2 import categories
Importing product data function provided by Magento 2.0 helps you to insert or update store items and replace existing data and delete entities.
Sure, it can do all the fundamental functions properly. However, for a business who provide a wide range of products with a multiple of categories. Magento 2 CSV import can generate various inconveniences during the importing process.
One of the most uncomfortable issues is importing repetitively. In specific, to import categories, the store has to patiently create each import process separately for each category to fill in all the related data accordingly.
It is the leading cause that wastes too much time for businesses. In specific, the concentration in this minor task will distract you from other important tasks. Therefore, the whole store performance will be heavily affected.
Besides, admins’ mood will also need to be considered. Magento 2’ s manual function will make the admin feel frustrated and inconvenience every single time they have to import data. Their mind will not be in the best condition to work, which result in low productivity.
Benefits of Magento 2 importing file
Mageplaza has noticed this imperfection and create an innovative extension for your business. In detail, you can experience a smoother process to import product with Magento 2 Import Categories extension.
Save time for store backend
With the help of the Import Categories extension, you can import categories CSV files in bulk instead of import each category in multiple times. The CSV file will contain all the data from various categories which will save a great deal of time for admins.
Enhance work performance
Also, the time-saving process will create spare time for the admin to focus on other essential tasks. There are many other small functions available to smoothen the import process, such as stop and skip errors in the import process or import image via inserting a path for images file.
Import categories in Magento 2
After learning about how Mageplaza Import Categories module can benefit your business, this section will help you to visualize how it will work in your backend.
1. Prepare data
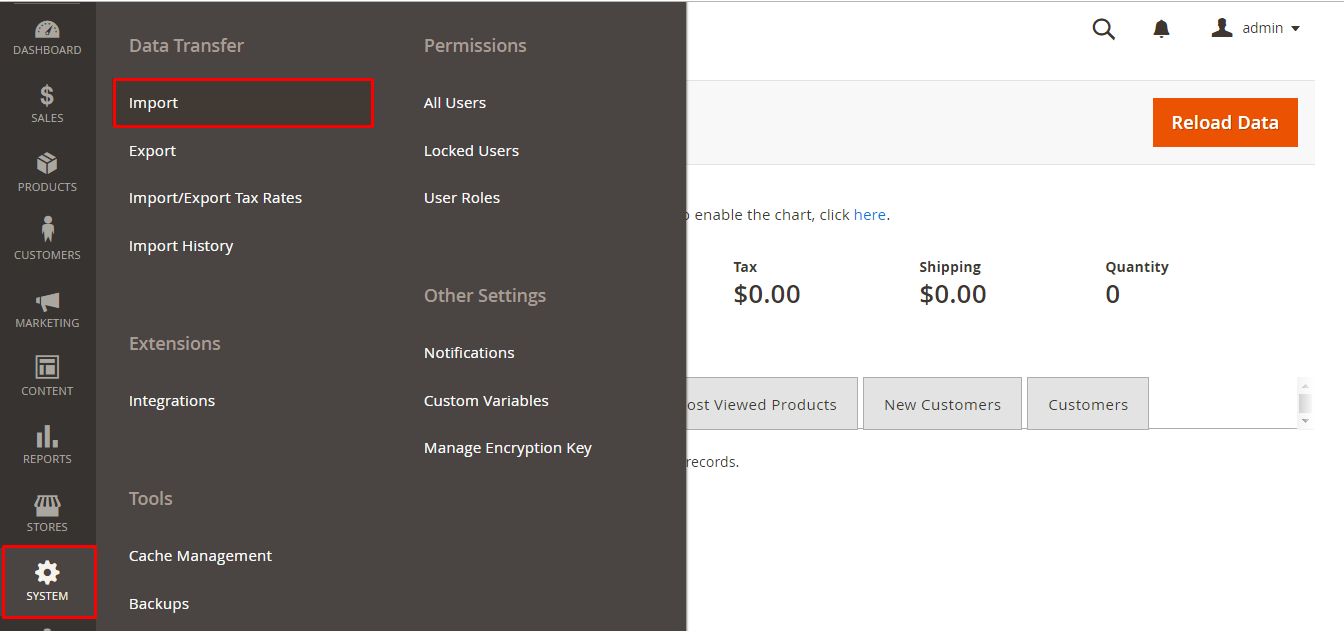
Firstly, you need to login to Magento Admin and access System > Import
-
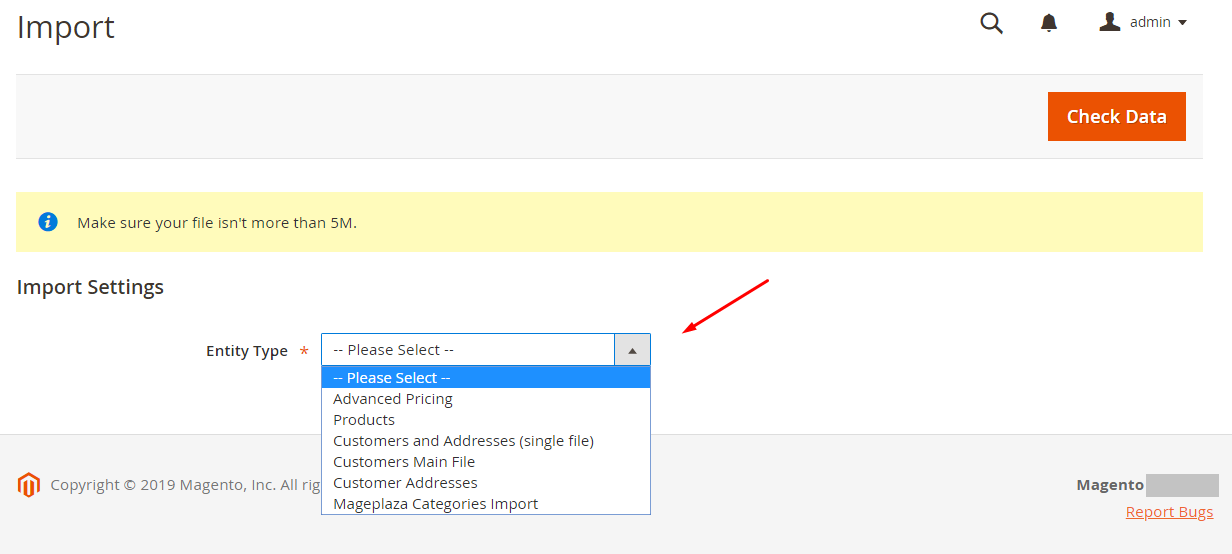
In the Import Settings, continue to select Mageplaza Categories Import in the Entity Type field and then download the file by clicking on Download Sample File. The extension only supports to import CSV file type.
-
Another point you need to keep in mind which are the maximum input file size is 5M.
- In the template file, you can edit the information before you import in the template file.

2. Configure Import Behavior
-
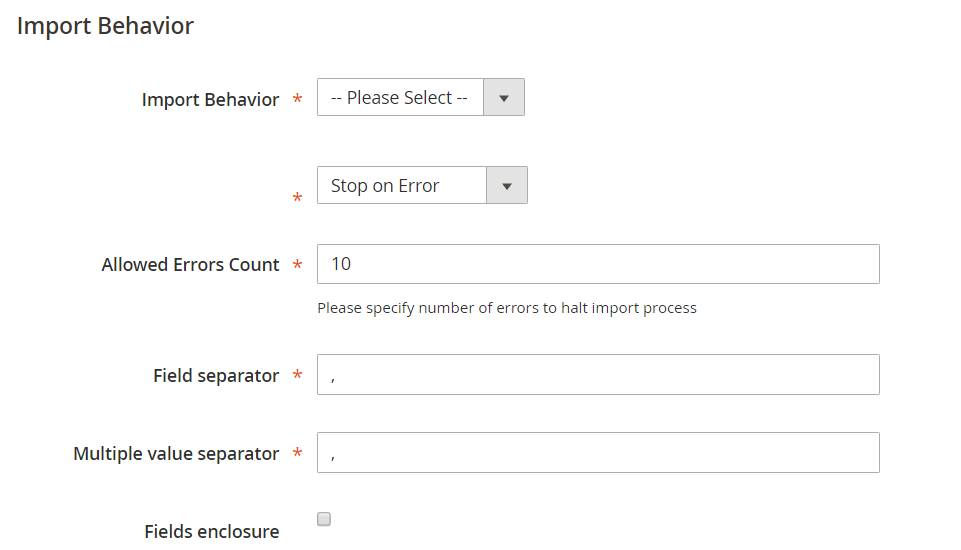
The category import plugin helps you to execute many behaviors in the import behavior field:
- In the first field, you can choose the action to apply with importing data such as:
- Add/Update
- Replace
- Delete
- The data stream is going to be compared and process based on the action you select for each category imported
- With the second field, the selection helps you to choose whether you want to stop the import process when an error occurs or skip the error and finish importing. If you want to cease the importing process when the process encounters an error by selecting Stop on Error. If you want to ignore the error and continue to import, you can select Skip Error Entries.
- In the first field, you can choose the action to apply with importing data such as:
-
Subsequently, you can access the maximum of errors to stop to pause the import process by entering a suitable number in the Allowed Errors Count field. If you do not fill in, the system will automatically set the default value is 10.
-
Field separator:
- Field separator: admins can add any maker in the column to separate the fields. Enter a marker to separate the fields in the column. The comma (,) is the system’s default value.
- Multiple value separator: This mark will separate different values in one column. The comma (,) is the default value.
Note:
- Normally in a CSV file, the fixed delimiter is a comma. When applying an alternative character, you need to make sure that the market in the CSV file matches the character you select.
- Fields enclosure: admin can enclose the value of the column by clicking the checkbox. The apostrophe (“) is the default value.
- When you want to Replace or Delete, you need to insert in the category_id before performing your action.
3. Select file to Import
-
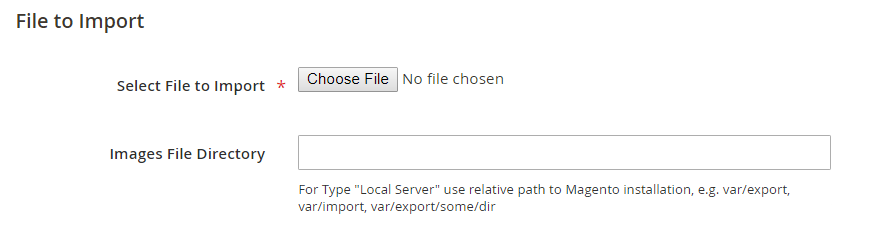
In Select File to Import section, you can choose your category file to import by clicking on the Choose File button.
-
Note: remember that your import file needs to be a CSV file type. It will be accepted to import with Mageplaza Categories Import as Entity File field.
-
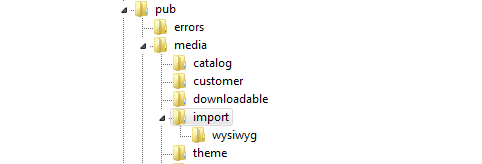
In case the file contains a path to the product image and the Images FIle Directory is empty, stores can include the product image in the path: pub/media/import/wysiwyg (if it hasn’t existed yet, you can actively create this folder).
4. Check data and finish data entry
When you finish entering the information above, you can look over again, by clicking on check data, to watch if the data is correct. After that, you can continue to select Import which is located in the Validation Results section.

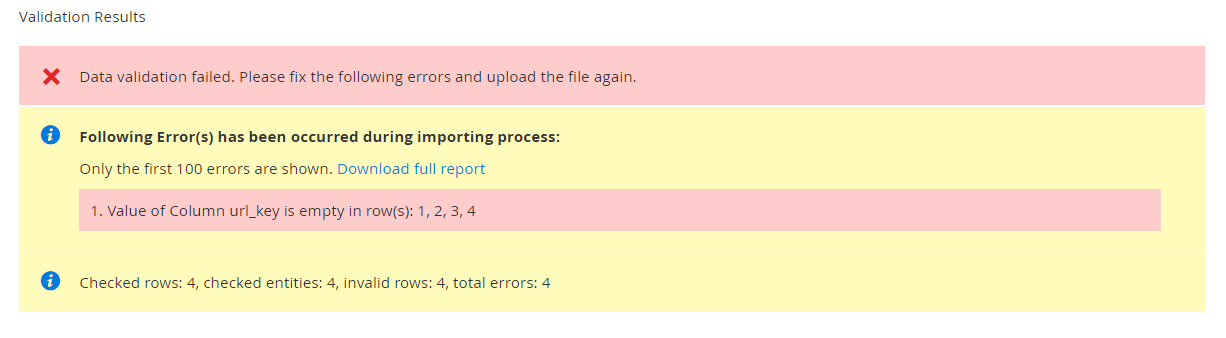
If the data validation is failed, you can correct the error mentioned in the message before trying again.
The image below is some examples of displaying error messages when you enter inaccurate data:
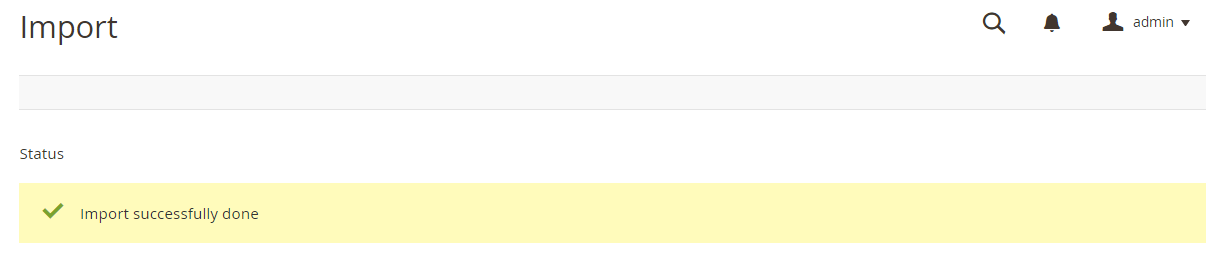
Finally, the system will appear a success message when the import process has been completed.
Explore Magento 2 Import Categories Now!
Final words
To sum up, the blog post has provided you an ideal optimization for your online business with Mageplaza extensions and also gave you some insights about how it will work when you apply in your system. That is one of the beneficial ways to optimize your sites backend performance. To learn more about other free and paid extensions for backend optimization, do not hesitate to access Magento 2 Administration Enhancement Extension.
& Maintenance Services
Make sure your M2 store is not only in good shape but also thriving with a professional team yet at an affordable price.
Get Started

Jennie
New Posts


May 2023

People also searched for
- magento 2 import categories
- magento 2 import categories csv
- import categories magento 2
- import category magento 2
- magento 2 category import
- magento import categories
- magento 2 categories import
- import categories
- magento 2 import categories extension
- magento category import
- magento import categories csv
- magento 2 category import export extension free
- magento 2 custom module import csv
- 2.2.x, 2.3.x, 2.4.x
Stay in the know
Get special offers on the latest news from Mageplaza.
Earn $10 in reward now!


